
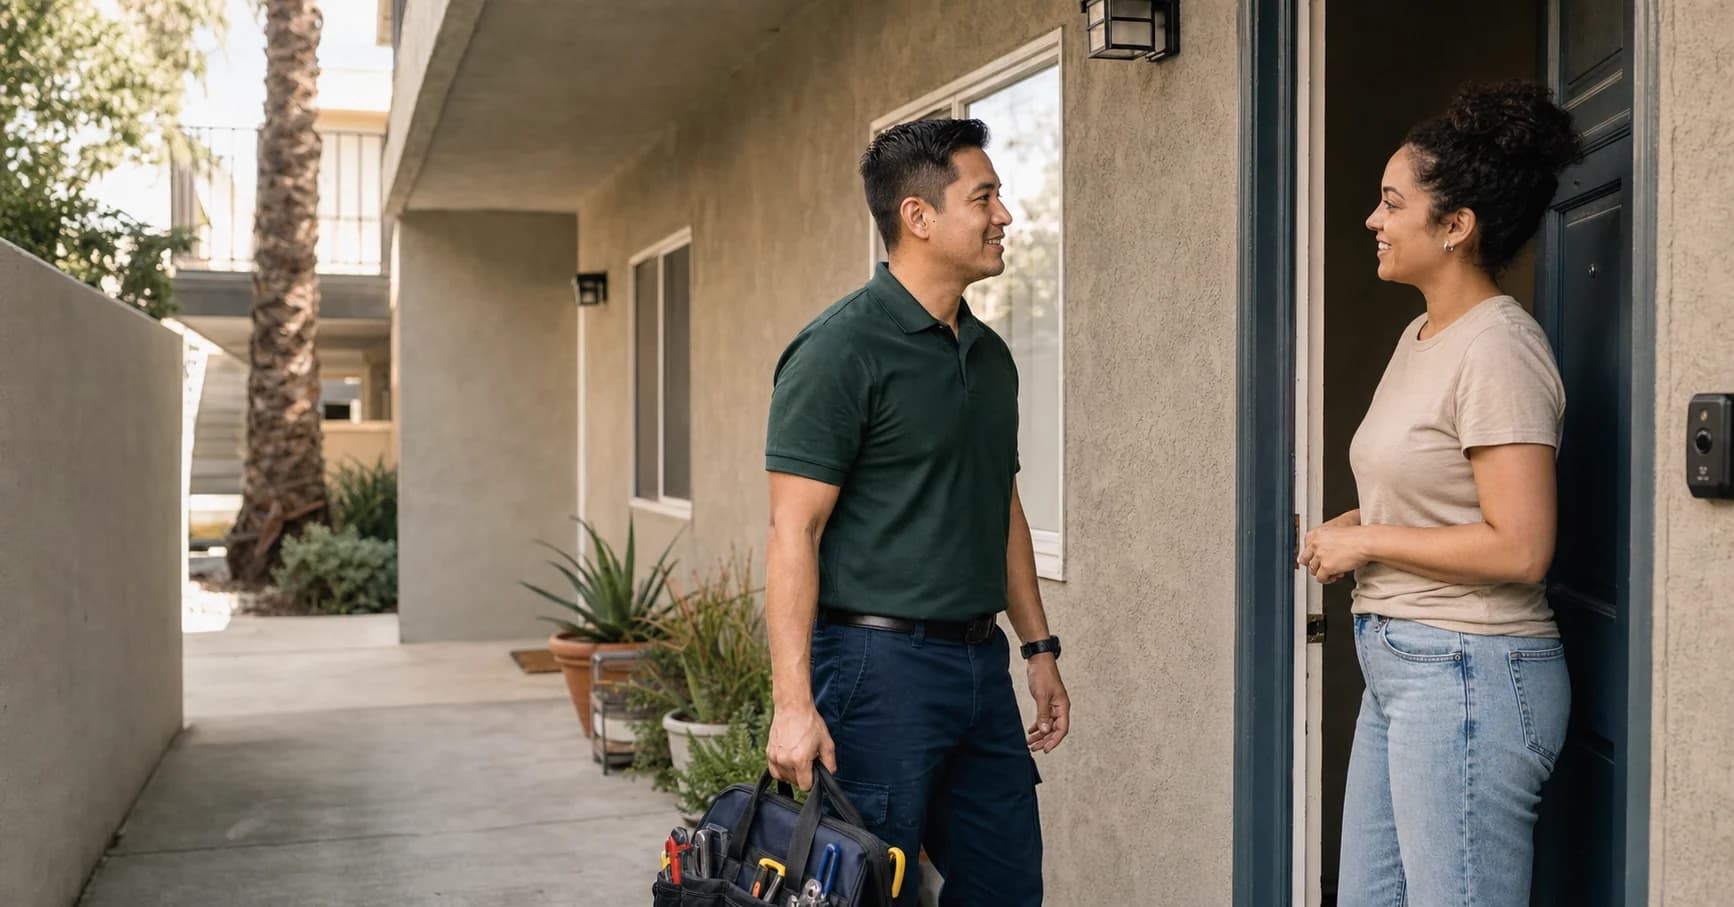
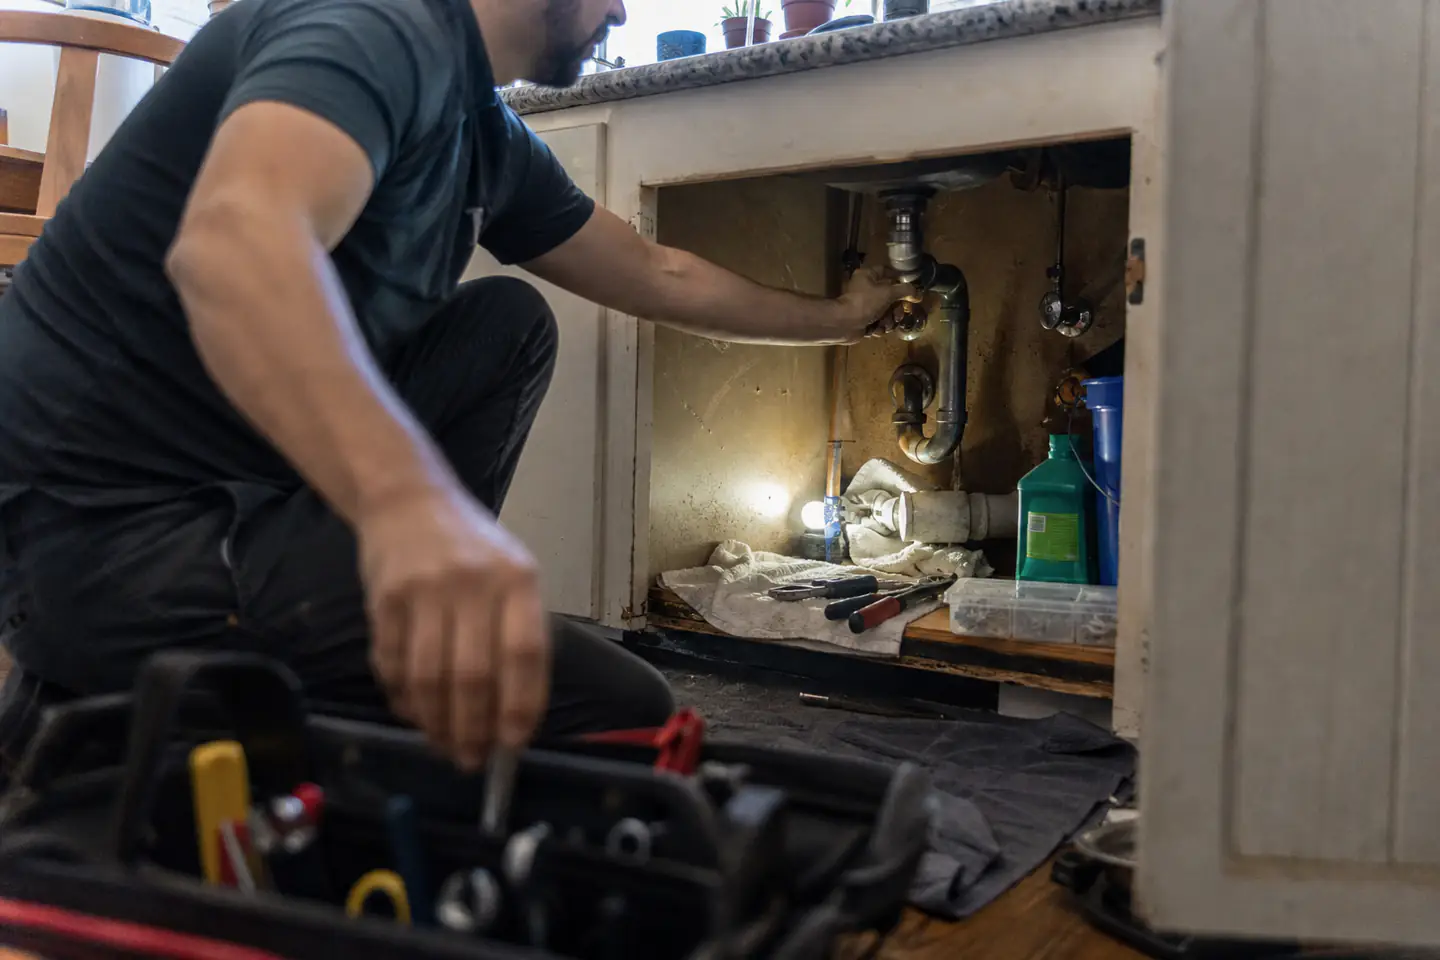
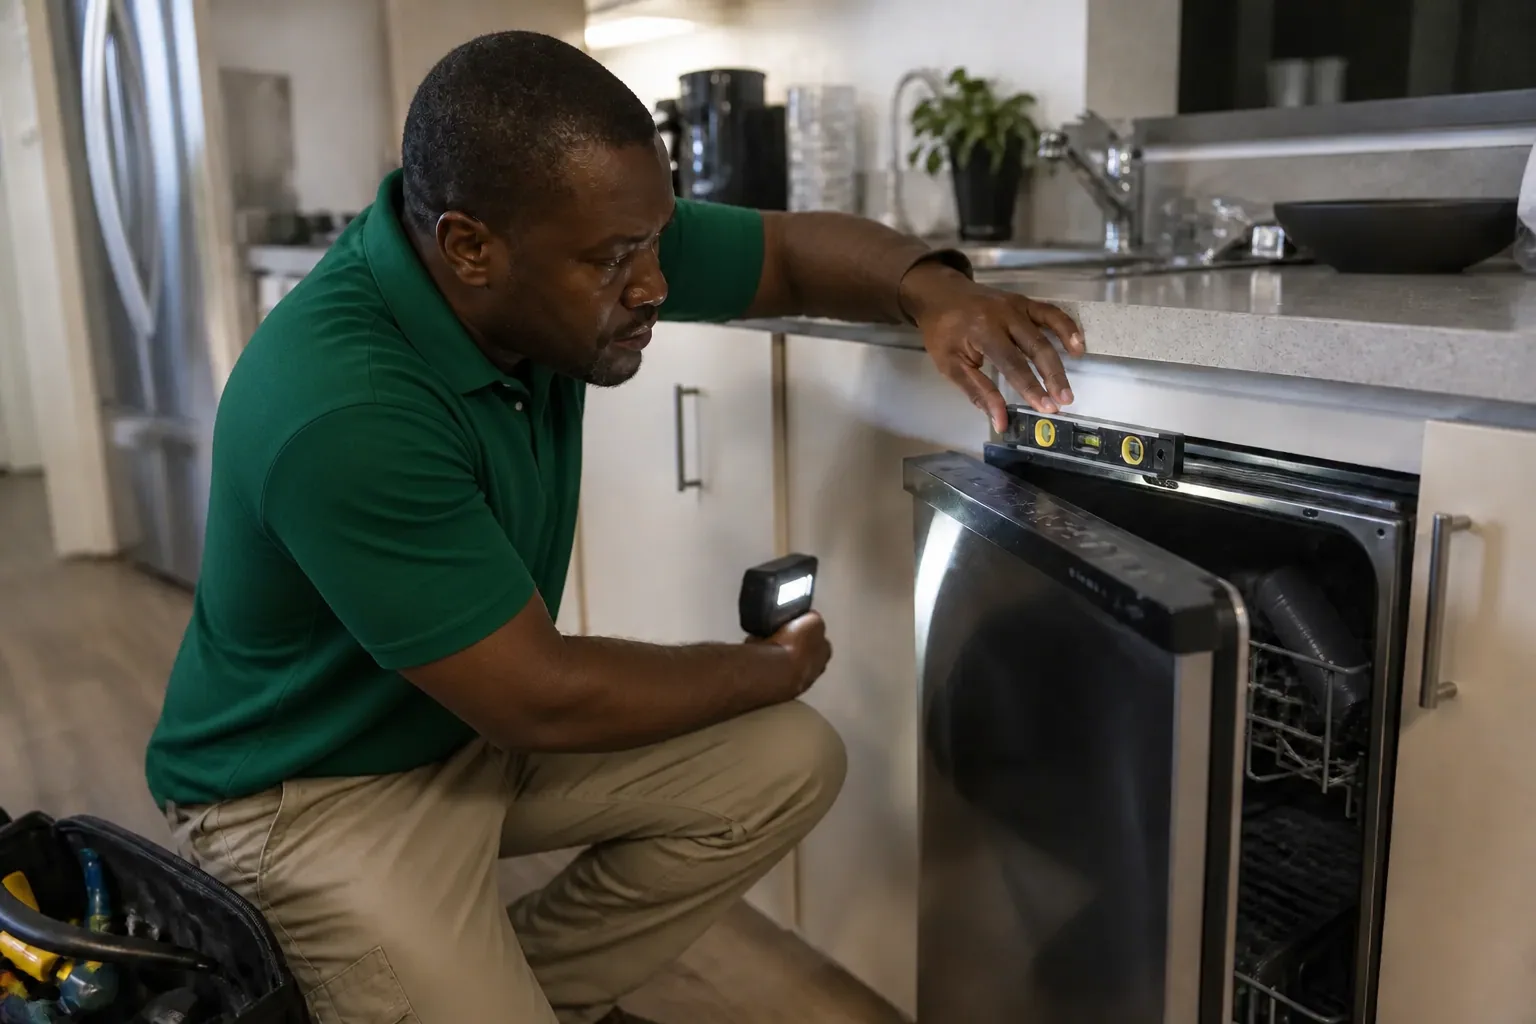
An appliance can match the cabinet opening and still fail to reach it. The delivery route, packaging size, door swing, floor transition, countertop edge, ventilation space, and exact utility locations all matter. Use the manufacturer’s installation instructions for the specific model and assign every responsibility before delivery day.
Start with the complete model number
Save the product page and installation manual, not only the sales listing. Record the model number, overall dimensions, weight, required clearances, door and drawer movement, electrical rating, water or drain requirements, venting, anti-tip hardware, and any manufacturer-specified installation kit. A similar-looking model can have different requirements.
Measure the route while doors are open
- Building entrance, gate, elevator, and loading-area clearances
- Every doorway with the door open and hardware included
- Hallway width, tight turns, stairs, landings, and ceiling constraints
- Floor transitions, thresholds, rugs, and surfaces needing protection
- The final opening at its narrowest point, including trim and countertop overhang
- Space for appliance doors, drawers, ventilation, service access, and adjacent cabinets
Photograph existing connections before purchase
Take clear photos of the outlet, plug, shutoff, hoses, drain, vent, gas connection, junction box, and surrounding cabinet area that apply to the product. Do not assume a connector can be reused or that a sales associate has verified local requirements. Manufacturer and retailer policies may require their own installer; regulated gas, hardwired, vented, plumbing, or mechanical work may separately require permits or an appropriately licensed trade.
Assign delivery-day responsibilities
- Who disconnects and removes the old appliance
- Who supplies new hoses, cords, vents, brackets, trim kits, or manufacturer accessories
- Who opens packaging and checks for freight damage before the delivery team leaves
- Who protects flooring and removes doors or railings if the approved route requires it
- Who handles packaging, haul-away, recycling, and any required disposal documentation
- Who is authorized to approve placement, alignment, and visible gaps
Do not let placement hide a connection problem
A unit should not be forced into an opening, pinched against a cord or hose, or operated without the required clearances and restraints. Leveling, door swing, anti-tip devices, ventilation, water connections, and manufacturer startup steps should be checked before the installation is treated as complete. Keep the serial number, manual, warranty information, and photos accessible after setup.
Check safety notices for the exact model
Before installation, search the complete manufacturer and model number in the official U.S. product-recall database and review any current manufacturer notice. A recall may change who is authorized to service, connect, modify, or even operate the product. Save the search result with the receipt and serial number; do not rely on the appearance of a similar model or a secondhand listing.
Use scope review to separate setup from regulated work
The appliance setup service covers select placement, leveling, and finishing requests, but no universal appliance-installation promise is appropriate. Submit the model, manual, route measurements, and connection photos first. The City of Long Beach’s mechanical, electrical, and plumbing guidance explains that regulated work can require permits, licensed contractors, and inspections; the exact product and existing conditions determine the right service path.